


The build log of my Sheerline Akula submarine
Arrival of the box.
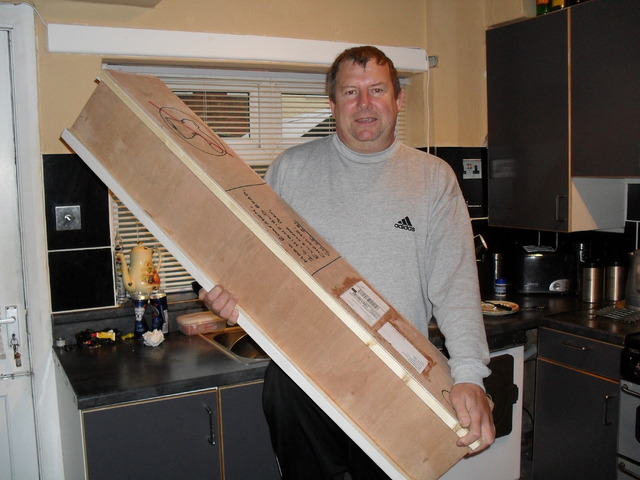
Lots of packing keeping all inside safe.

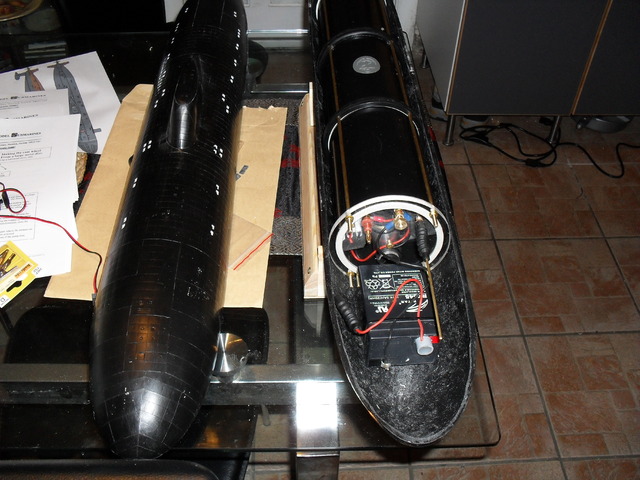
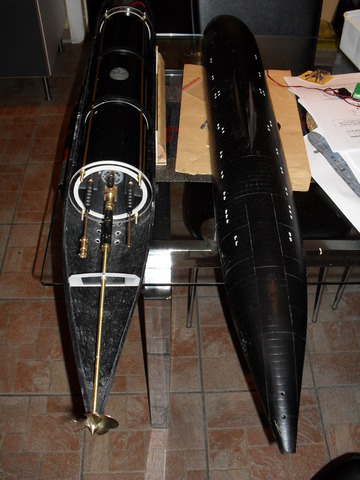
The two halves of the hull.

Lots off little bags all nicely labeled as to what is in them.

And of course the instructions.

Bottom flood holes drilled out.

Top flood slots cut out, not many on the Akula.
Prop shaft support now in position.
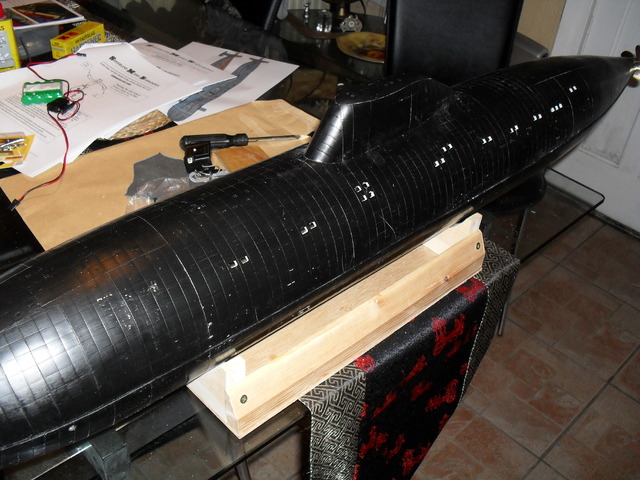
Sitting on its stand awaiting the drill, so as to drill the air release holes in the top of the hull.
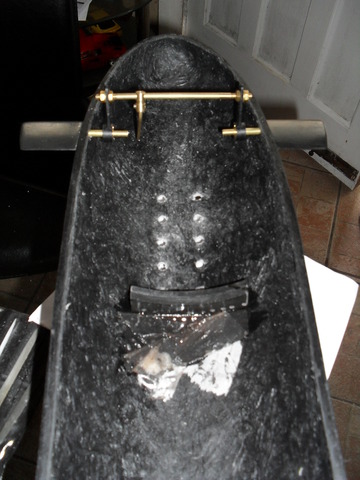
Front dive planes in position along with the WTC end stop in place.
WTC rear end stop in position along with the prop support.
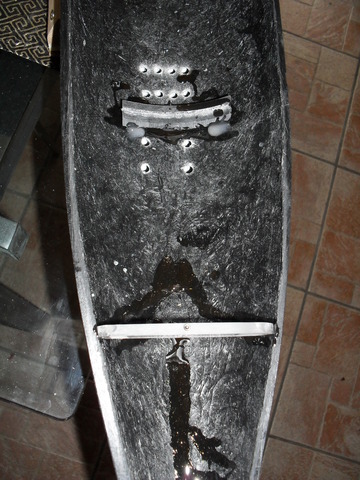
Rudder and rear dive plane linkages in place along with loose lead ballast roughly in position.

Rear lead ballast and center ballest loosely in position.
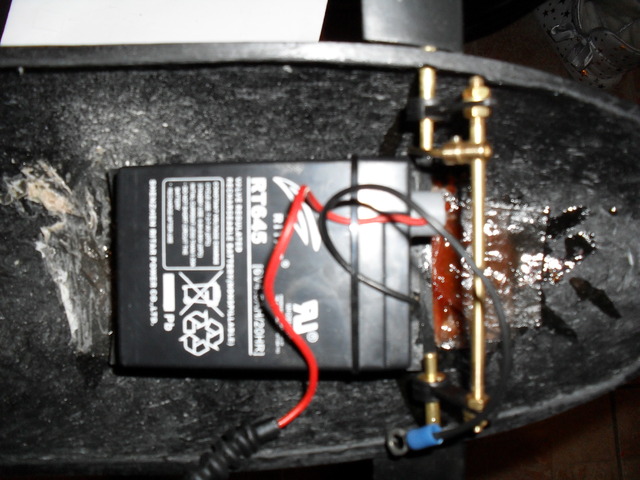
Battery in position with front and rear end stops in place.
WTC hold down velcro in place, the velcro replaces the brass strips and nut and bolts that used to come with this kit.
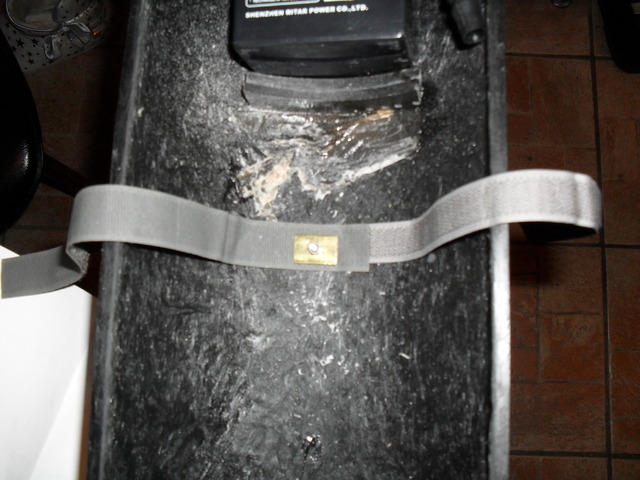
This picture shows the top hull hold down bolt which sits over the prop shaft and is held in by resin.

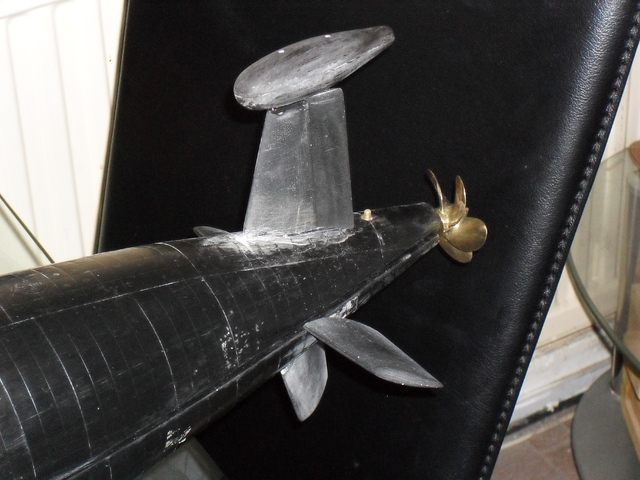
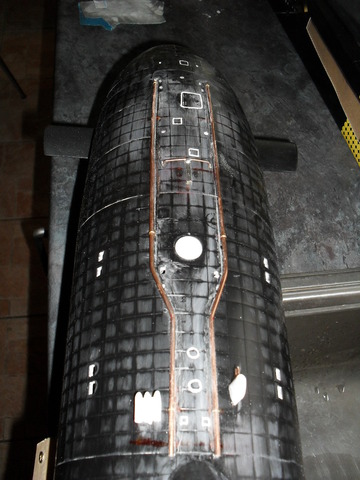
Tail pod and fin in position, the pod needs more holes in it than are shown here.
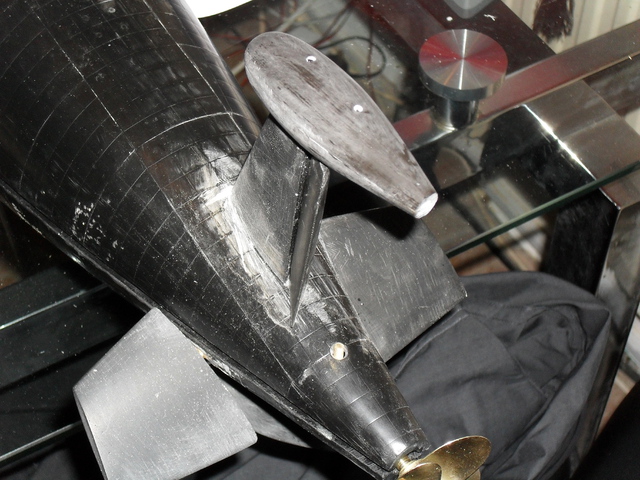
Just another look at the pod and fin.
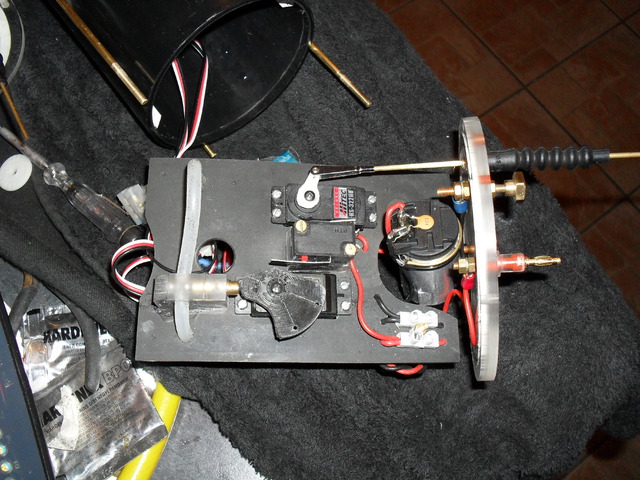
Servo plate holding the water pump front dive plane push rod and the all important pinch valve and cam.
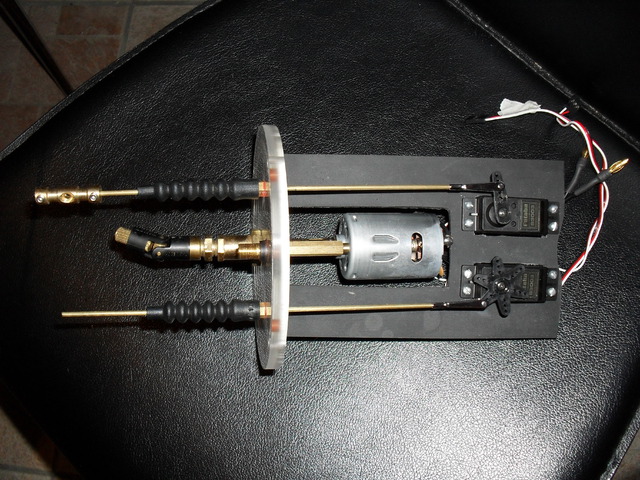
Rear servo plate holding the drive motor, and also the rudder and rear dive plane push rods.
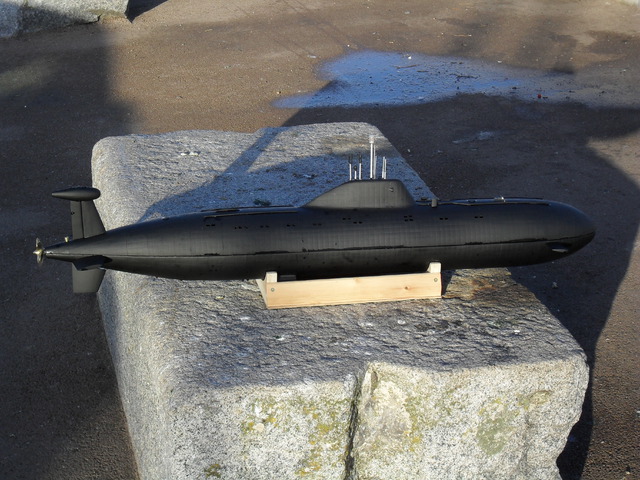
A look at the conning tower(sail)and the periscopes made up from odds and ends from my bits box.

After a bit of research on the great WWW, I found the correct position of the lights. Also found out that subs carry
a flashing amber light for when they are on the surface, warning other ships that it is a surfaced sub with more under water than can be seen.
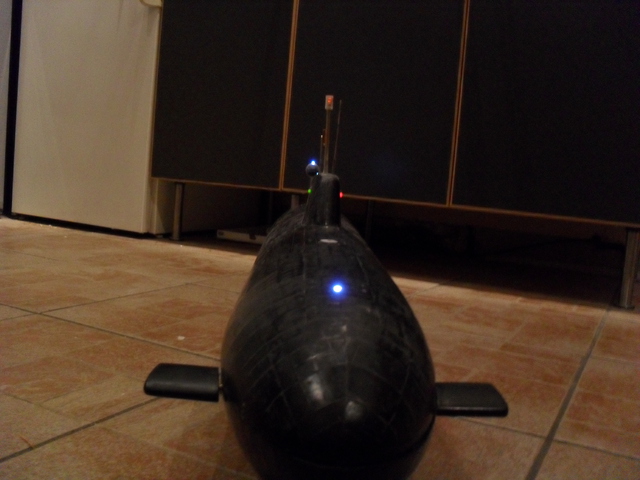
The light system is two white leds, one on the front nose and the second on the rear pod with the
usual red and green nav lights. The orange flashing light is in the wrong position but gives
maximum visibility to surface targets, and is made from a small circuit board scrounged from a flashing display
at a well known branch of chemist, all encased in resin and turned on by removing a small magnet from over two
mocro reed switches on the front deck of the sub.
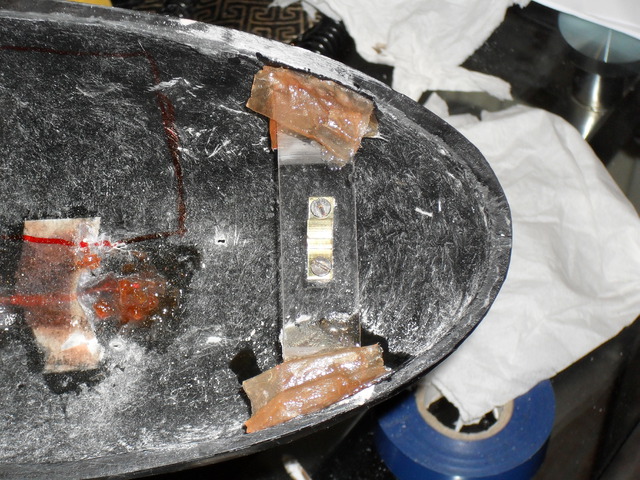
Got the top and bottom catch done, it was not a simple job, in the end what I did was fix the bottom clip in place with resin, waited for it to set and then fitted the top clip to the bottom clip.
I then ran a piece of insulation tape around both the clips. I then taped the top and bottom edges of the hull to catch any resin drips from the next step while the two clips were held together
by the tape, I ran resin onto the edge of the top clip support plate then carefully lowered the top hull onto the bottom hull using tape on the outside to hold everything together.
I hope that makes sense..when the resin is dry you need to borrow a long knife (carving) while her indoors ain't looking, slip the knife between the top and bottom hull joint and cut the insulation tape, you can then check the operation of the catch.
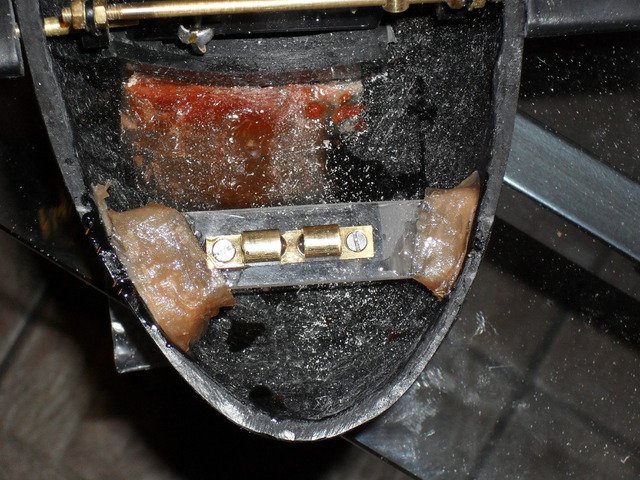
Bottom clip.
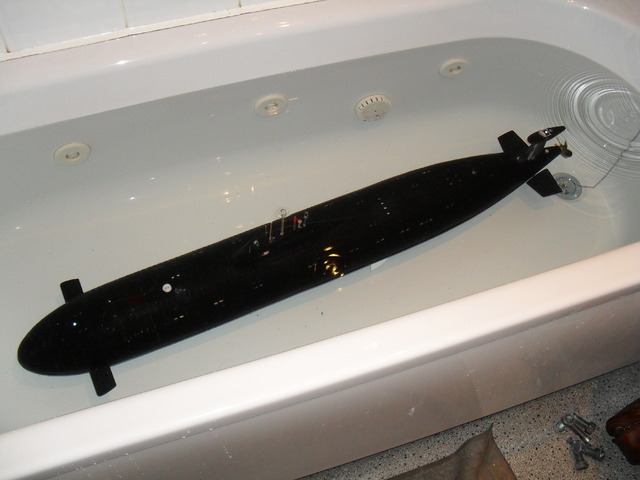
First bath test..this is fully submerged.
Putting a bit of detail onto the deck, bits obtained from my bits box and the wifes sewing box (2X buttons).
Went off to New Brighton on Sunday for her first run, I think she sits a bit low in the water at the
moment, hopefuly this will be rectified soon.

First bath test video...
Well thanks for looking, hope you like the pics.
Mark.
Arrival of the box.
Lots of packing keeping all inside safe.
The two halves of the hull.
Lots off little bags all nicely labeled as to what is in them.
And of course the instructions.
Bottom flood holes drilled out.
Top flood slots cut out, not many on the Akula.
Prop shaft support now in position.
Sitting on its stand awaiting the drill, so as to drill the air release holes in the top of the hull.
Front dive planes in position along with the WTC end stop in place.
WTC rear end stop in position along with the prop support.
Rudder and rear dive plane linkages in place along with loose lead ballast roughly in position.
Rear lead ballast and center ballest loosely in position.
Battery in position with front and rear end stops in place.
WTC hold down velcro in place, the velcro replaces the brass strips and nut and bolts that used to come with this kit.
This picture shows the top hull hold down bolt which sits over the prop shaft and is held in by resin.
Tail pod and fin in position, the pod needs more holes in it than are shown here.
Just another look at the pod and fin.
Servo plate holding the water pump front dive plane push rod and the all important pinch valve and cam.
Rear servo plate holding the drive motor, and also the rudder and rear dive plane push rods.
A look at the conning tower(sail)and the periscopes made up from odds and ends from my bits box.
After a bit of research on the great WWW, I found the correct position of the lights. Also found out that subs carry
a flashing amber light for when they are on the surface, warning other ships that it is a surfaced sub with more under water than can be seen.
The light system is two white leds, one on the front nose and the second on the rear pod with the
usual red and green nav lights. The orange flashing light is in the wrong position but gives
maximum visibility to surface targets, and is made from a small circuit board scrounged from a flashing display
at a well known branch of chemist, all encased in resin and turned on by removing a small magnet from over two
mocro reed switches on the front deck of the sub.
Got the top and bottom catch done, it was not a simple job, in the end what I did was fix the bottom clip in place with resin, waited for it to set and then fitted the top clip to the bottom clip.
I then ran a piece of insulation tape around both the clips. I then taped the top and bottom edges of the hull to catch any resin drips from the next step while the two clips were held together
by the tape, I ran resin onto the edge of the top clip support plate then carefully lowered the top hull onto the bottom hull using tape on the outside to hold everything together.
I hope that makes sense..when the resin is dry you need to borrow a long knife (carving) while her indoors ain't looking, slip the knife between the top and bottom hull joint and cut the insulation tape, you can then check the operation of the catch.
Bottom clip.
First bath test..this is fully submerged.
Putting a bit of detail onto the deck, bits obtained from my bits box and the wifes sewing box (2X buttons).
Went off to New Brighton on Sunday for her first run, I think she sits a bit low in the water at the
moment, hopefuly this will be rectified soon.
First bath test video...
Well thanks for looking, hope you like the pics.
Mark.
Last edited by Richard(Admin) on Thu Jan 13, 2011 10:05 am; edited 6 times in total (Reason for editing : Pictures reinstated and post tidied up.)


» David Forrest's R class
» Futaba -868/915mhz equipment
» Darnell type 21 submarine, need some help
» Robbe Seawolf V2
» bladder bags
» WW2 mini sub build
» Peral Submarine of 1888
» U-Boat R/C?