


Time to put away the airbrush and get on with the small details. Partly to help hide the airbrush job that has preceded it!
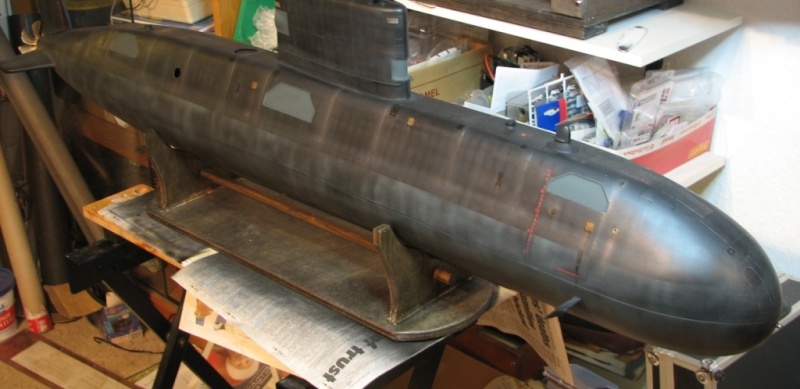
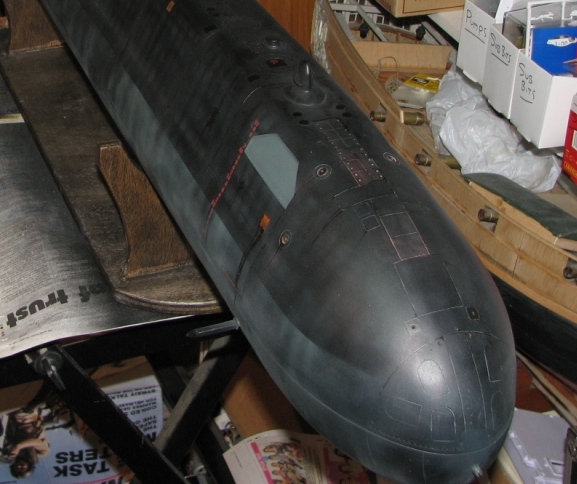
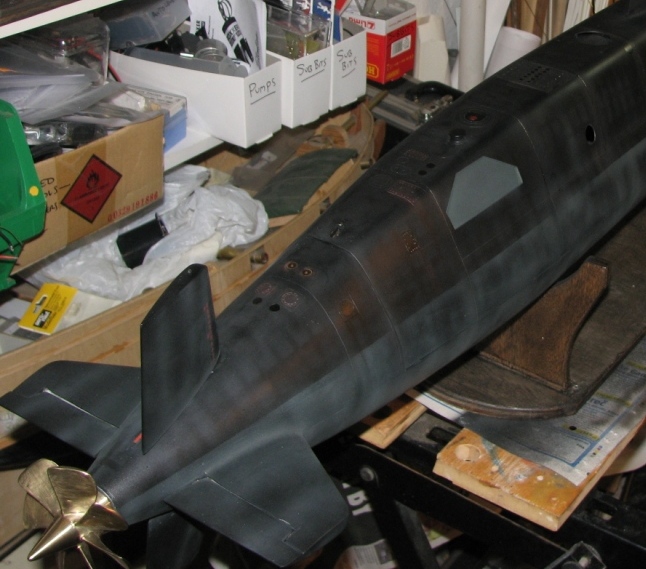
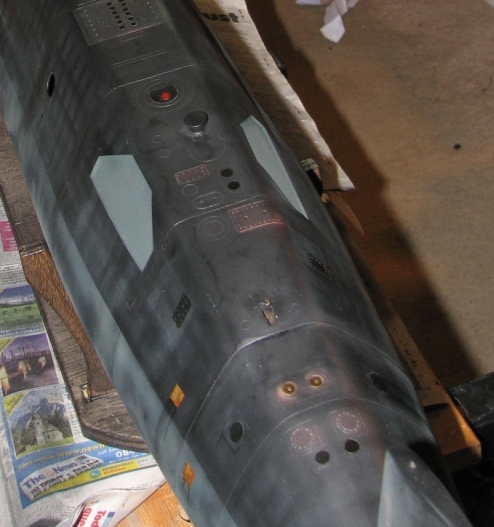
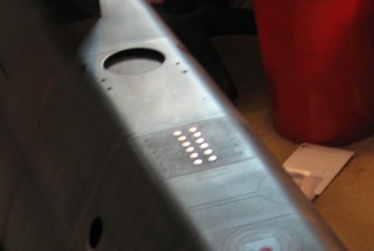
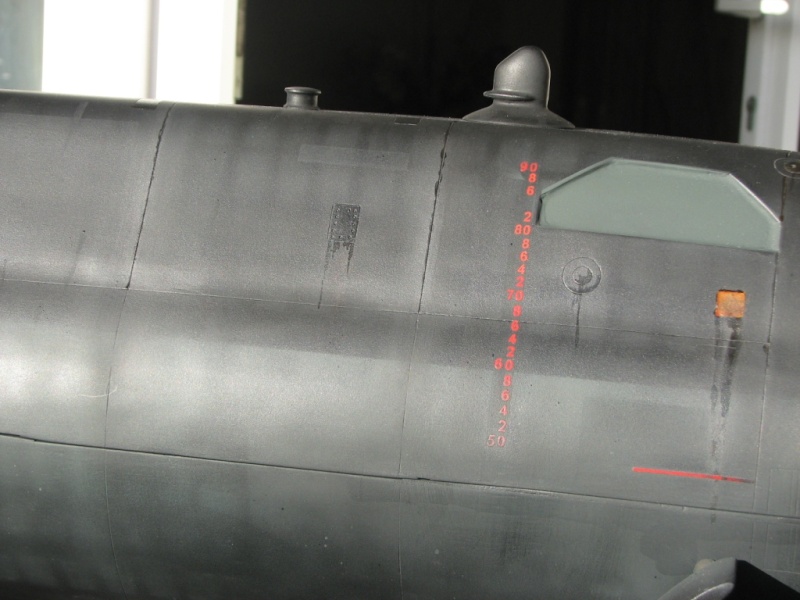
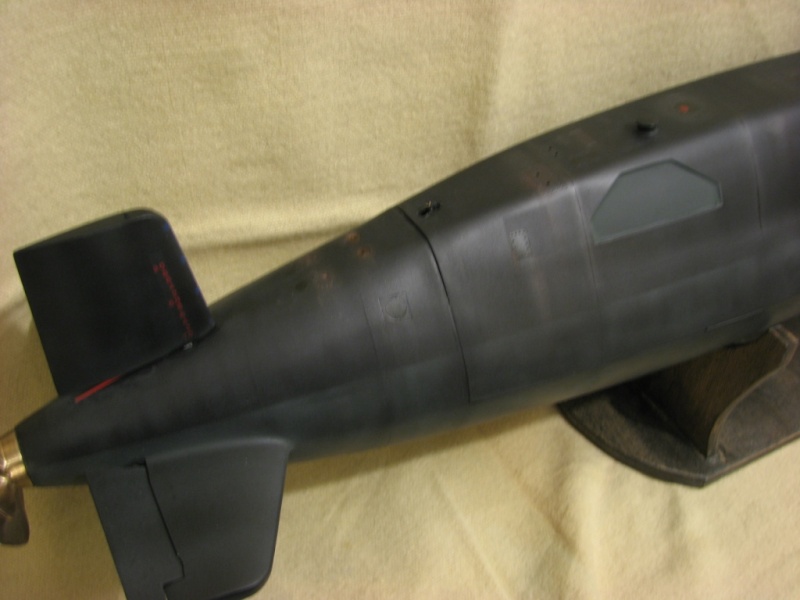
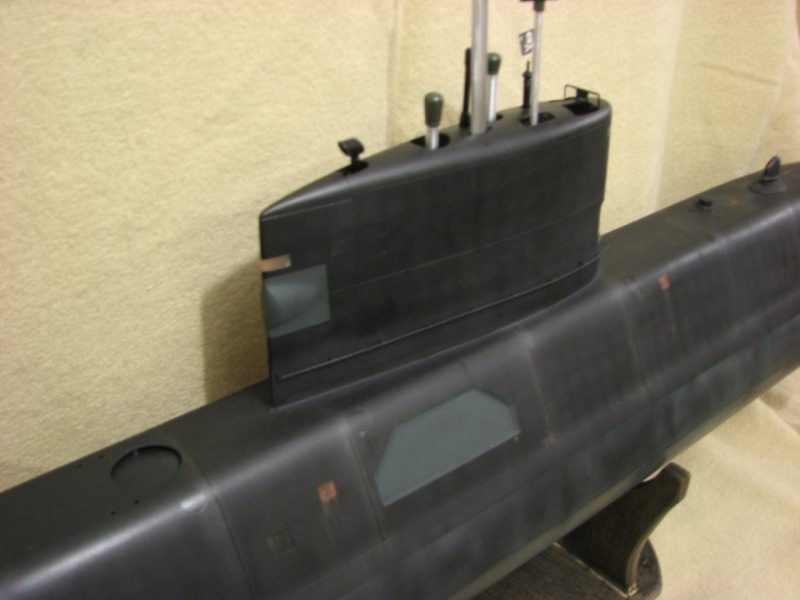
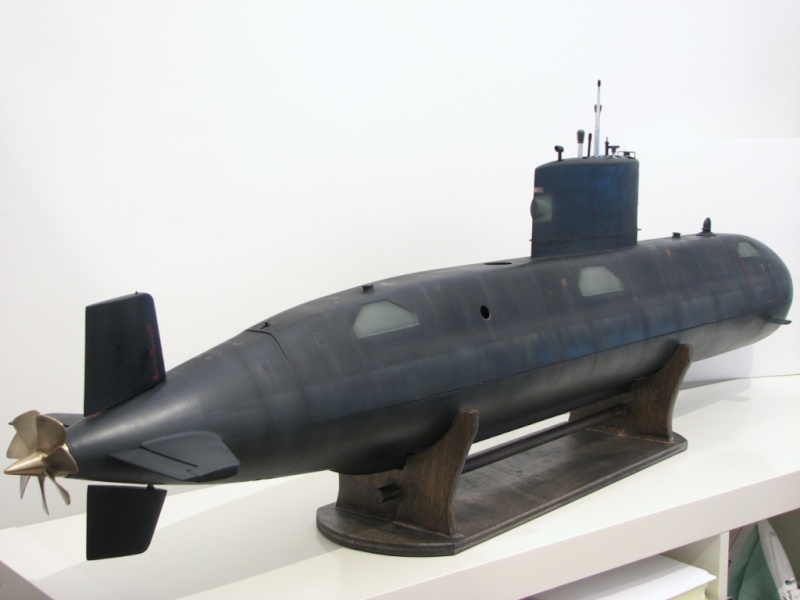
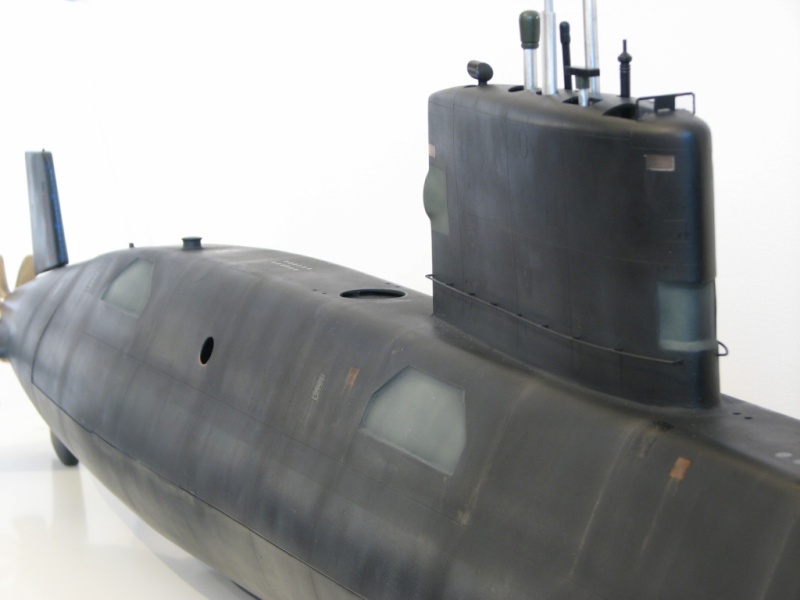
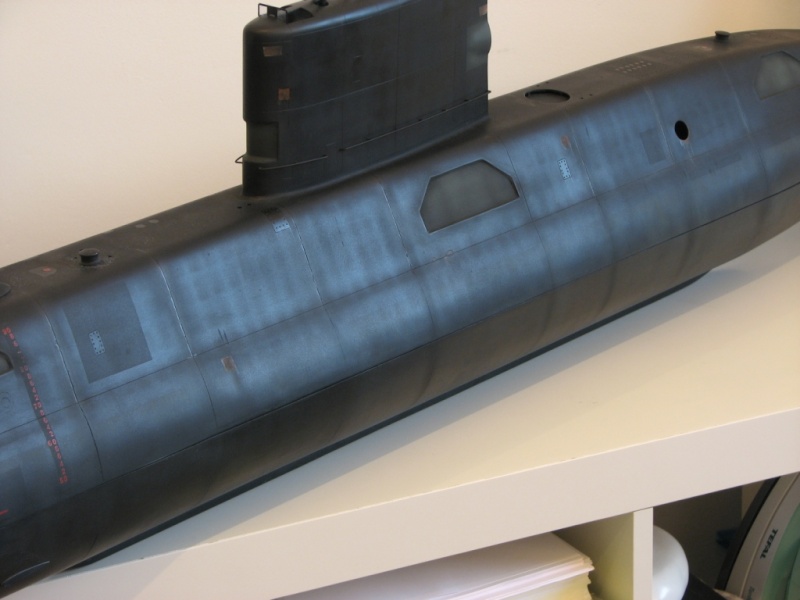
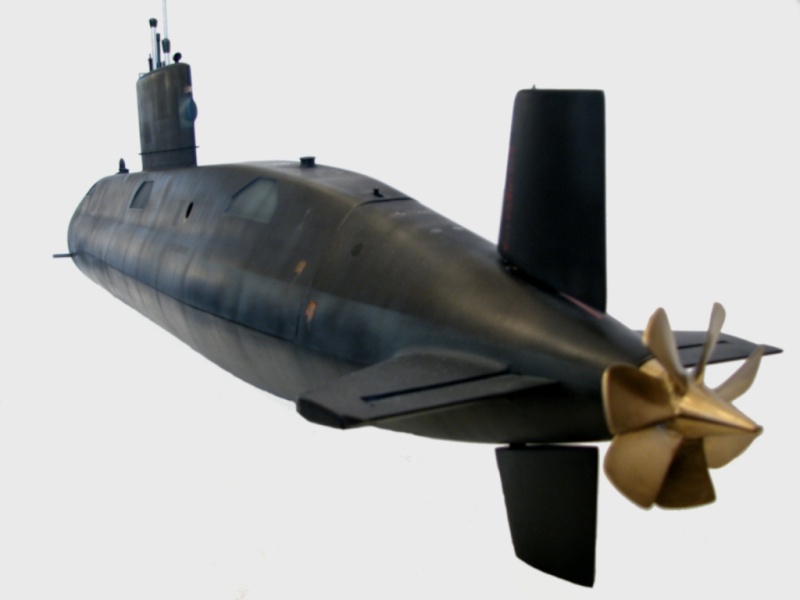
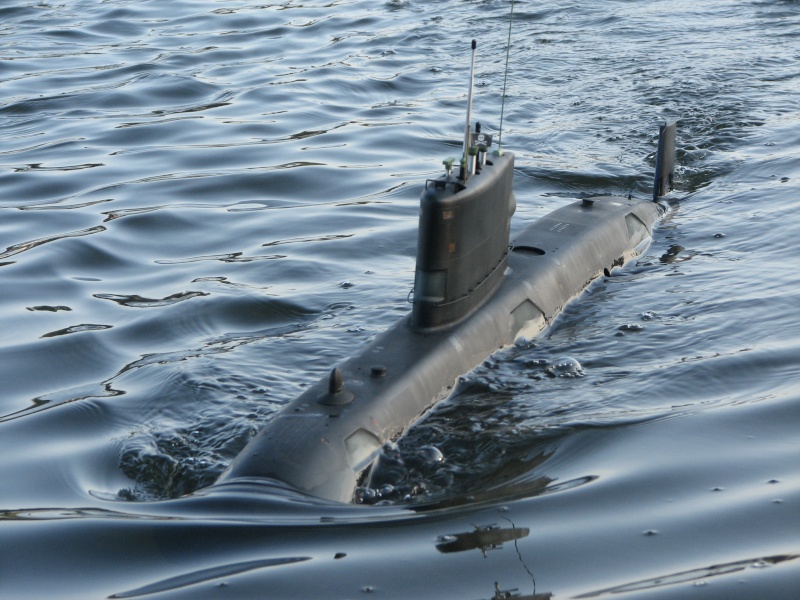
On this series of pictures are various little painting effects, starting with the missing tile effect. I considered milling out a 0.75mm deep square out of the model at various random points around the model, however, sanity prevailed. I masked small squares off on the surface of the model. Then in the best Thunderbirds tradition, dry brushed Humbrol 62 Leather up to the edges of the tape, feathering to less in the centres of the squares. Also stippling thicker rust effects around the edges of the tape. Once peeled off, they started to look like exposed steel sub hull.
Next, small amounts of slightly thinned satin varnish ( thinned so it would be easier to hand paint into scribed detail ) are applied. I highlighted details on the hull surface, such as the decoy launcher tubes, retracted bollards and small access hatches.
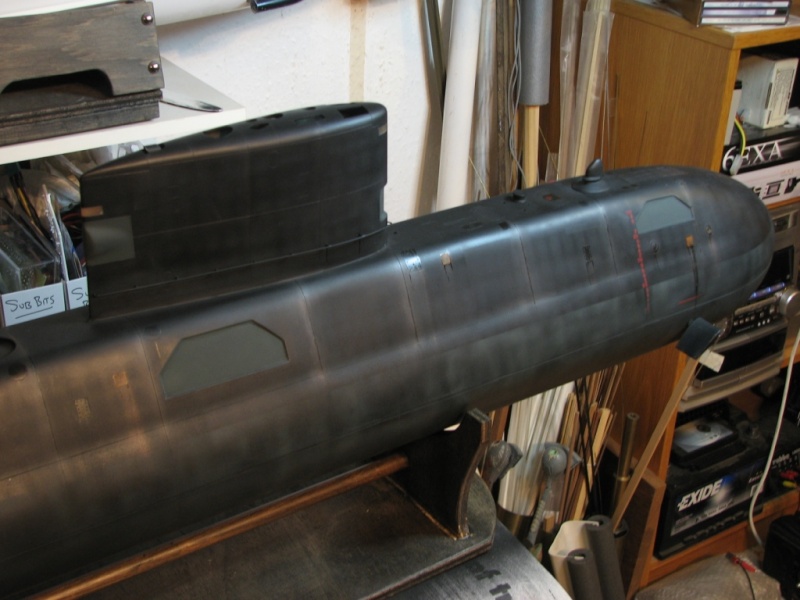
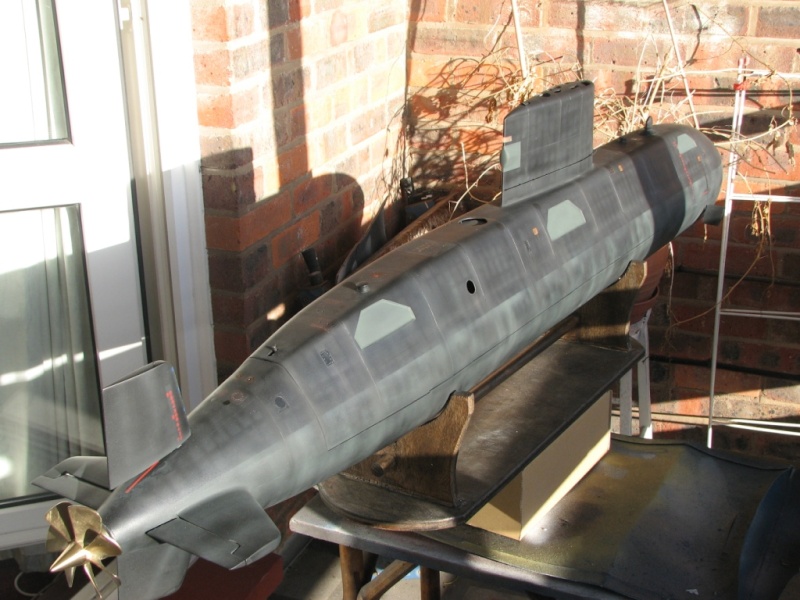
A Clear Orange colour was used to streak down the hull in places, simulating running rust. Not too much though, this is a new boat, not an old WWII tub.
I then used rust red and silver oil pastel pencils, roughly streaked down the hull from strategic points. This was then blended in with my finger. This provided subtle satin streaks of a slightly different colour. So far this has proved water resistant without the need for a protective top coat. Top coats are great for protecting your weathering effects, however, if you also have changes of surface finish, from matt through satin to metallic, a uniform top coat will kill this off in one pass. So, don’t top coat!
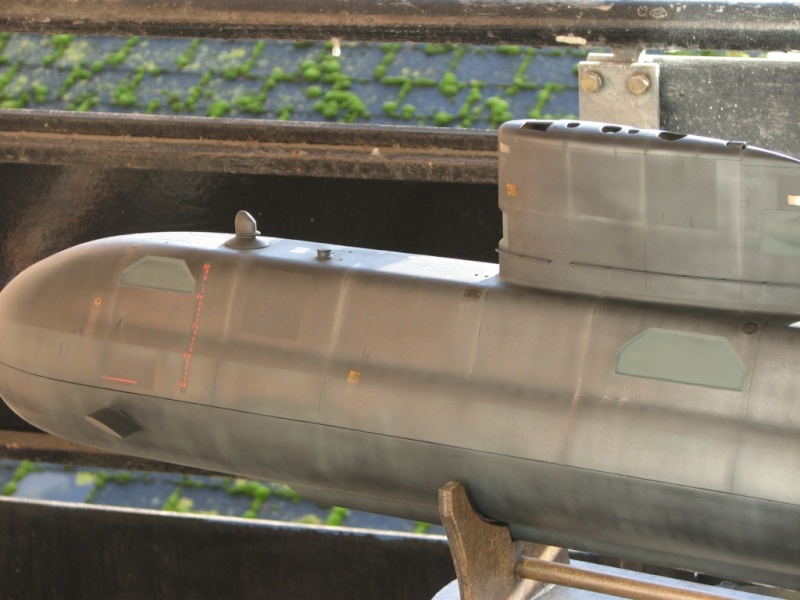
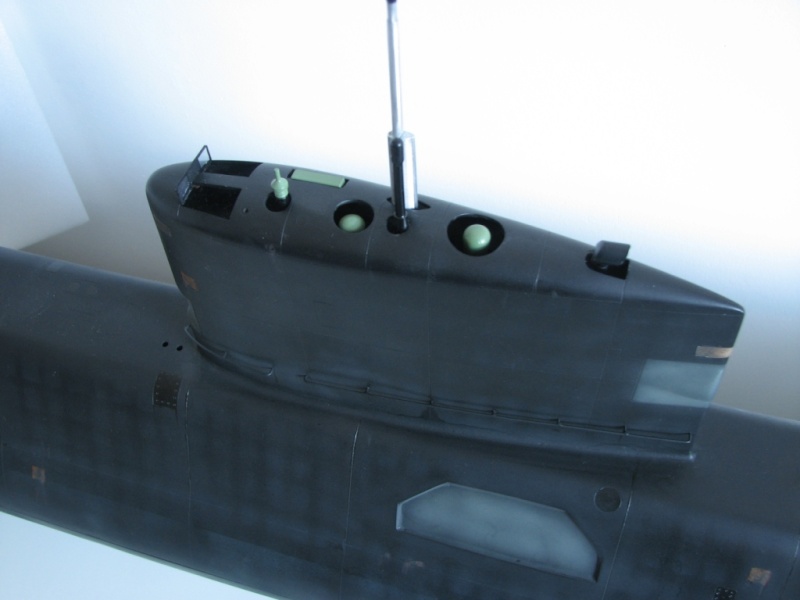
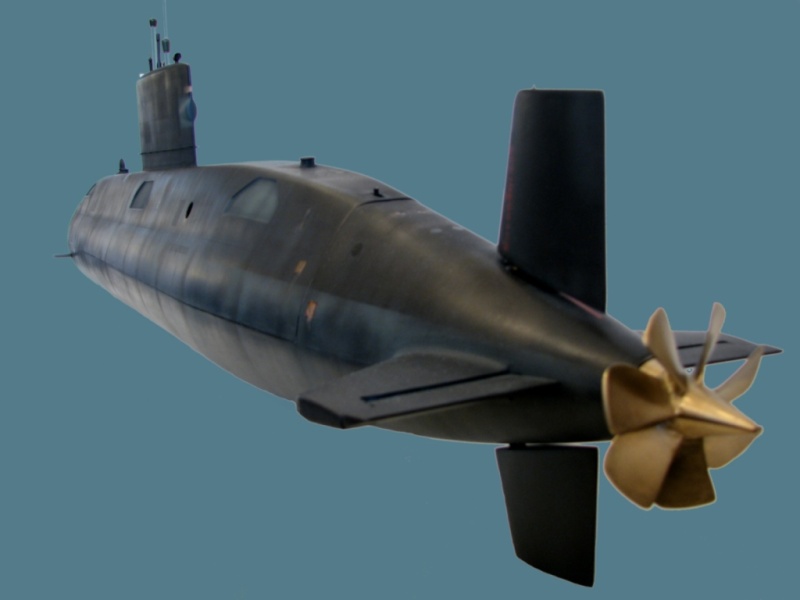
On this series of pictures are various little painting effects, starting with the missing tile effect. I considered milling out a 0.75mm deep square out of the model at various random points around the model, however, sanity prevailed. I masked small squares off on the surface of the model. Then in the best Thunderbirds tradition, dry brushed Humbrol 62 Leather up to the edges of the tape, feathering to less in the centres of the squares. Also stippling thicker rust effects around the edges of the tape. Once peeled off, they started to look like exposed steel sub hull.
Next, small amounts of slightly thinned satin varnish ( thinned so it would be easier to hand paint into scribed detail ) are applied. I highlighted details on the hull surface, such as the decoy launcher tubes, retracted bollards and small access hatches.
A Clear Orange colour was used to streak down the hull in places, simulating running rust. Not too much though, this is a new boat, not an old WWII tub.
I then used rust red and silver oil pastel pencils, roughly streaked down the hull from strategic points. This was then blended in with my finger. This provided subtle satin streaks of a slightly different colour. So far this has proved water resistant without the need for a protective top coat. Top coats are great for protecting your weathering effects, however, if you also have changes of surface finish, from matt through satin to metallic, a uniform top coat will kill this off in one pass. So, don’t top coat!


» Modulated electric fields for submarine communication in a "heads up" from Harry!
» Laser cut Robbe U47 conversion
» ExpressLRS - 868/915 Mhz equipment
» Information on camouflage patterns for German seahund
» WW2 mini sub build
» Not the hobby I expected :)
» Sheerline gasket material
» Choice of CAD software and Printer for 3D printing